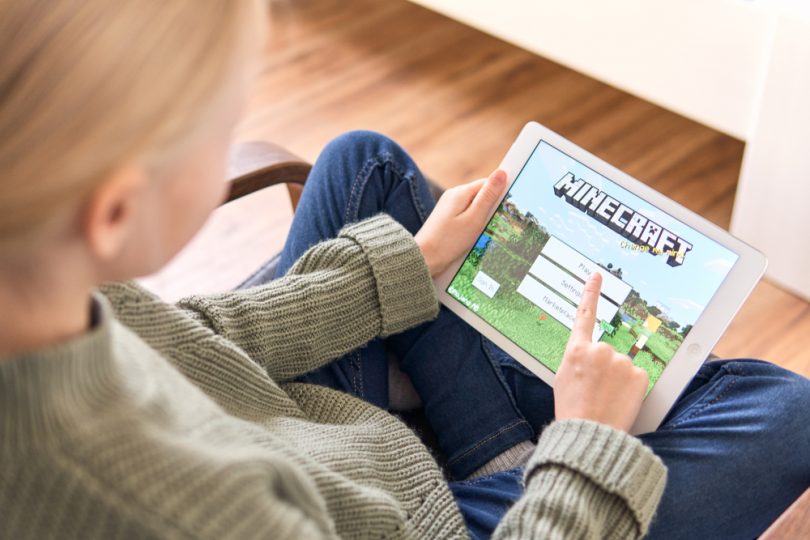
If you want to enjoy Minecraft as a college student, you should play with others!
The only way to do so is by making your own server such that you can create a network for your community of players.
You don’t have to be a tech guru to create a Minecraft server. However, there are some challenges you’ll encounter as you try to personalize the server.
You should take time to learn about how to create and personalize the Minecraft server and also look into how it might benefit you.
What’s a Minecraft Server?
The Minecraft server is a server that has been made to host multiple online players who play Minecraft.
When you use software from Mojang Studios, the developer of Minecraft, a player can use their own computer as the server.
Alternatively, you can use a hosting service when you want to set up a dedicated gaming server.
The steps you should follow when you want to personalize a Minecraft server include:
Step One: Find an Image for the Server Icon
You need first to find an image for the server icon.
You can consider some ideas, such as a custom logo or your college logo, since it will help establish a unique and creative identity.
You can look for inspiration from different platforms such as Pinterest.
Step Two: Upload the Image to Adobe
Open the browser and visit Adobe and start to create the server icon. The server icons are supposed to be 64×64 pixels.
You can use Adobe on different devices such as a computer or tablet.
From here, there are some options that you can choose when opening the editor. You can upload the file from your computer if the image is already saved on your device.
If you’re looking for the perfect image, some tools can help with that, including the Plugins tool.
You can use the tool to browse images on Pexels and Pixabay. You’ll just type descriptive terms on the search bar, generating results.
Step Three: Edit the Server Icon
You can resize the dimensions of the server icon using Adobe. After the Minecraft banner design specifications are complete, you can now customize the server icon.
Step Four: Export the Image and Upload it to the Server

First, review the icon you have designed. You will then select the image and upload it to the server.
The image should be uploaded to the server’s root directory- you’ll then launch the Minecraft server and refresh it. Your new icon will then appear, and everyone can view it.
Using Adobe, you cannot only create a server icon, but you can also create images that can be used on other platforms.
Go ahead and learn more about Adobe, and you’ll understand the capabilities of this platform.
Besides, image editing tutorials will come in handy and are readily available on platforms such as YouTube.
Playing Video Games is Beneficial to College Students
Once you hit college, don’t be afraid to continue playing your favorite video games like Minecraft!
Playing video games can be beneficial to learning and also help you create a sense of community among your fellow students.
Especially if you create a server specifically for your college campus!


